

Hey there! As a supplier of chemistry analyzers, I'm super stoked to share with you a step - by - step guide on how to install a chemistry analyzer. Whether you're a newbie in the lab or a seasoned pro looking to set up a new machine, this guide is gonna be your go - to resource.
1. Preparation
Before you even start unpacking the analyzer, there are a few things you need to get sorted. First off, find a suitable location. The place where you set up your chemistry analyzer is crucial. It should be a clean, dry, and well - ventilated area. Avoid places with direct sunlight, excessive heat, or high humidity. You don't want your analyzer to be exposed to any environmental factors that could mess with its performance.
Check the power supply requirements of your analyzer. Different models have different voltage and power needs. Make sure your electrical outlet can handle the load. You might also want to use a surge protector to safeguard your analyzer from any sudden power surges.
Gather all the necessary tools for the installation. This usually includes a screwdriver, a level, and maybe some pliers. Having these tools handy will make the installation process a whole lot smoother.
2. Unpacking
Once you've got the location and tools sorted, it's time to unpack the chemistry analyzer. Carefully open the packaging and take out all the components. Check for any visible damage during shipping. If you notice anything wrong, like a cracked screen or a loose part, contact the shipping company and us right away.

Lay out all the parts on a clean surface and make sure you have everything that came with the analyzer. You should have the main unit, the reagent trays, the sample probes, and any cables or connectors. Refer to the user manual that came with the analyzer to confirm you have all the necessary parts.
3. Assembly
Now it's time to start putting the analyzer together. First, place the main unit on the chosen surface. Use a level to make sure it's perfectly horizontal. This is important because an uneven analyzer can affect the accuracy of the test results.
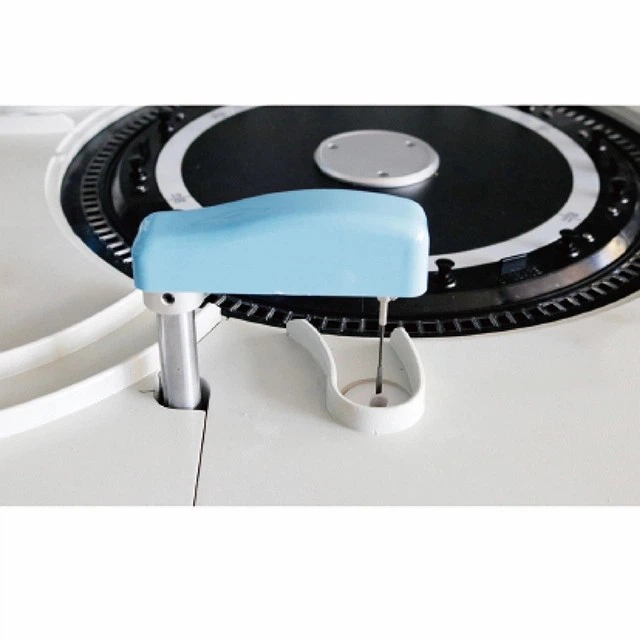
Attach the reagent trays to the appropriate slots on the analyzer. These trays hold the different chemicals and reagents needed for the tests. Make sure they are securely fastened so they don't move around during operation.
Next, install the sample probes. These probes are used to pick up the samples and transfer them to the testing area. Connect the cables and connectors according to the user manual. Double - check all the connections to make sure they are tight and properly seated.
4. Software Installation
Most modern chemistry analyzers come with software that needs to be installed on a computer. Connect the analyzer to the computer using the provided cable. Make sure the computer meets the system requirements specified in the user manual.
Insert the software installation disc or download the software from the official website. Follow the on - screen instructions to complete the installation. During the installation process, you might need to enter some serial numbers or activation codes. Keep these handy, as they are usually provided with the analyzer.
Once the software is installed, you'll need to calibrate it with the analyzer. This involves running a series of tests to ensure that the software and the analyzer are communicating properly. The calibration process might take a little time, but it's crucial for accurate test results.
5. Testing and Validation
After the assembly and software installation are complete, it's time to test the analyzer. Fill the reagent trays with the appropriate chemicals and reagents as specified in the user manual. Prepare some test samples and run a few test cycles.
Check the test results to see if they are within the expected range. If the results are off, you might need to recalibrate the analyzer or check for any loose connections. It's also a good idea to run some quality control tests using known samples to validate the accuracy of the analyzer.
6. Training
Even after the installation and testing are successful, it's important to train the staff who will be using the analyzer. Provide them with comprehensive training on how to operate the analyzer, how to load samples and reagents, and how to interpret the test results.
The user manual is a great resource for training, but you might also want to offer hands - on training sessions. This will help the staff feel more confident and comfortable using the analyzer.
Our Chemistry Analyzer Offerings
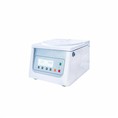
We offer a wide range of chemistry analyzers to meet your different needs. If you're looking for an Auto Clinical Chemistry Analyzer, we've got you covered. This analyzer is designed for high - throughput clinical laboratories and offers accurate and reliable test results.
Our Automatic Chemistry Analyzer is another great option. It's easy to use and maintain, making it suitable for smaller labs or clinics.
For those with higher testing demands, our 300T/H Automatic Chemistry Analyzer is a top - notch choice. It can process up to 300 tests per hour, ensuring efficient and timely results.
Let's Talk!
If you're interested in purchasing a chemistry analyzer or have any questions about the installation process, don't hesitate to reach out. We're here to help you every step of the way, from choosing the right analyzer to getting it up and running in your lab.
References
- Chemistry Analyzer User Manuals
- Laboratory Equipment Installation Guides